
School holiday boredom busters
25 Sep 2024
If you’re looking for something to keep the kids busy with over the holidays, check out these three super cool DIY ideas! The kids might need your help to gather some materials and construct some pieces, but the fun part will be choosing their favourite Resenetestpot colours and getting creative with designs. All three of these projects are things that children will love and cherish for years to come. So, what are you waiting for? Get making!
Wild wall art
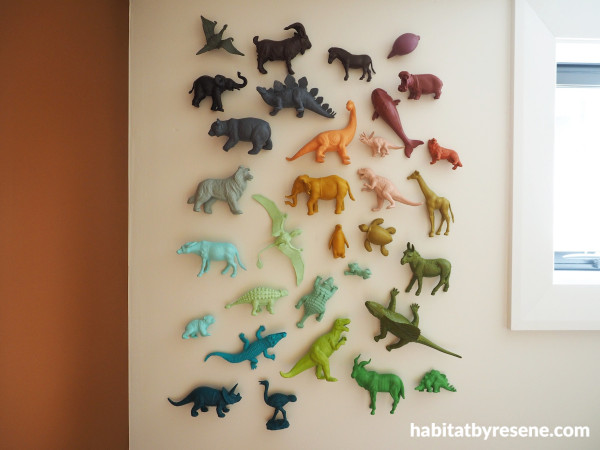
Let the kids’ walls roar to life with a creative and colourful twist on traditional art. Turn an assortment of plastic animals into a playful and unique display, adding a splash of fun to their room. Follow along and let their inner artist (or zoologist) shine with this quirky and eye-catching animal wall art!
You will need:
- Plastic animals
- Resene Quick Dry
- Paintbrush
- Electric drill (for an adult to use)
- Pins
- Resene testpot paints in your child’s favourite colours. Fleur used Resene Raptor, Resene Rebel, Resene Cosmic, Resene Diesel, Resene Half New Denim Blue, Resene Roxy, Resene Merlot, Resene Awaken, Resene Fire, Resene Pewter, Resene Mandalay, Resene Stinger, Resene Riptide, Resene Bay Leaf, Resene Feijoa, Resene Planter, Resene Java, Resene Impromptu, Resene Retro and Resene Bilboa
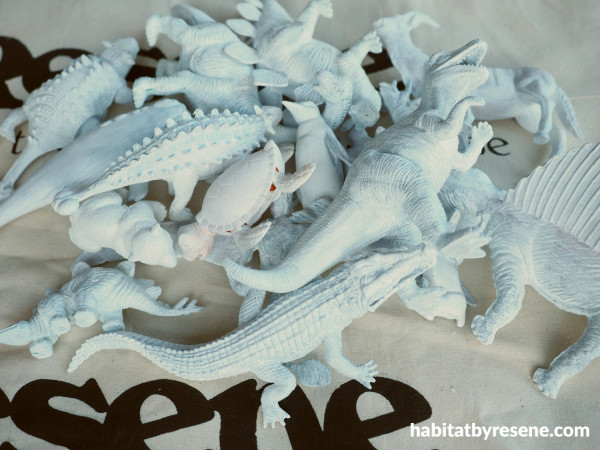
Step 1: Start by priming all the animals with Resene Quick Dry.
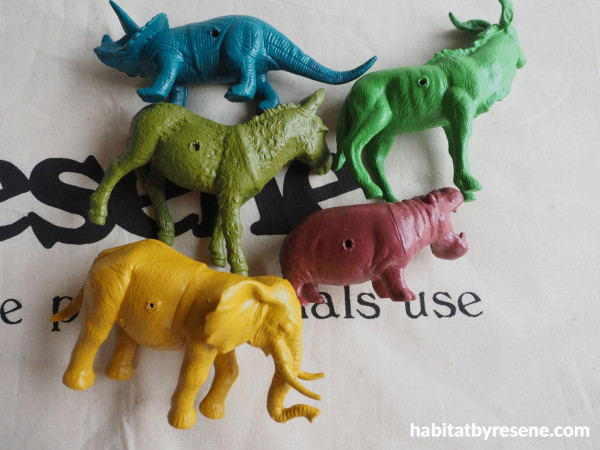
Step 2: Use an electric drill to drill a hole into the back of each animal and paint them with two coats of your favourite Resene colours. Fleur used Resene Raptor, Resene Rebel, Resene Cosmic, Resene Diesel, Resene Half New Denim Blue, Resene Roxy, Resene Merlot, Resene Awaken, Resene Fire, Resene Pewter, Resene Mandalay, Resene Stinger, Resene Riptide, Resene Bay Leaf, Resene Feijoa, Resene Planter, Resene Java, Resene Impromptu, Resene Retro and Resene Bilboa.

Step 3: Use sewing pins to hang them on the wall (a bit of BluTack® can help with correcting any wonkiness).
Walls painted in Resene Eighth Sisal and Resene Cinnamon.
A wheel-y cute book cart
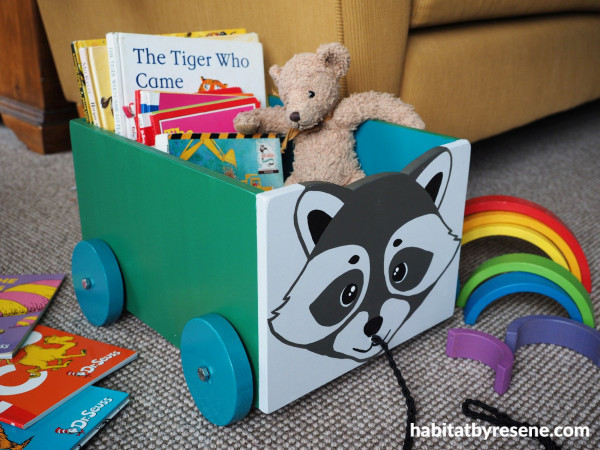
Ready to roll into this project?Keep your child’s reading nook organised in style with this adorable DIY book cart.Ours features a cute raccoon, but you can make any of your child’s favourite animals. Whether you’re tidying up their favourite storybooks or encouraging them to tote their tales around the house, this charming cartwill make clean-up time a breeze. With just a few simple steps, you’ll have a whimsical, functional piece that adds both fun and flair to any child’s room.
You will need:
- 1200mm x 600mm x 12mm untreated plywood panel
- 900mm x 24mm x 24mm untreated pine wood
- Saw
- Sandpaper
- Pencil
- Jig saw
- Resene Quick Dry
- Paintbrush
- Wood glue
- Scrap wood for wheels
- Electric drill
- 4x Bolts, washers, nuts
- Length of cord
- Resene testpots in you or your child’s chosen hues. Fleur used Resene Green Pea, Resene Sea Green, Resene Triple Concrete, Resene Double Masala, Resene Rice Cake and Resene Black
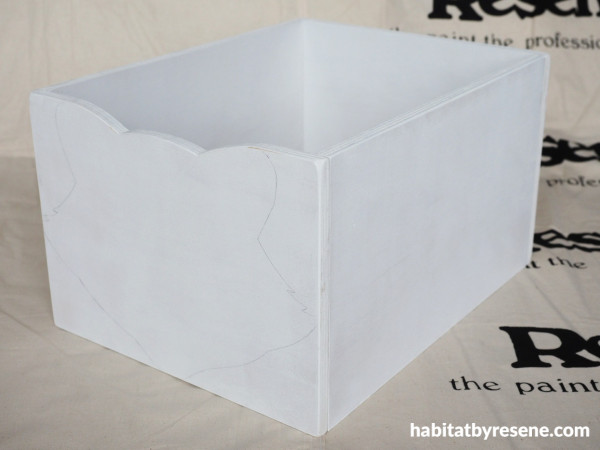
Step 1: Start by cutting your 12mm thick plywood panel to size. The front and back panels are 29cm wide by 21.5cm tall, and the two side panels are 35cm wide by 21.5cm tall. Cut a base panel to fit inside. You could also ask your timber supplier to cut the pieces to size.Draw the outline of the animal face on to the front panel and use a jig saw to cut out around the top of the head and ears. Sand any rough edges smooth with a medium grit sandpaper. Prime all your wood with Resene Quick Dry and use strong wood glue to assemble the box of your cart. Leave to dry. Good, strong wood glue should be sufficient, but you can add screws for added strength.
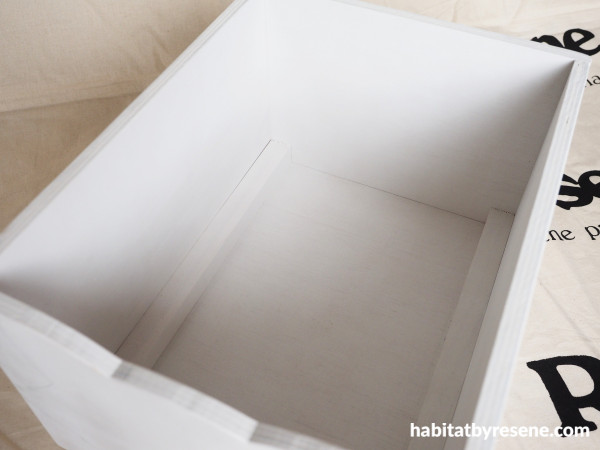
Step 2: Cut two lengths of 24mm x 24mm pine to fit on the inside of the cart, along both sides at the bottom. Glue this in place. This will help make the cart strong and will provide a better point for attaching the wheels later.
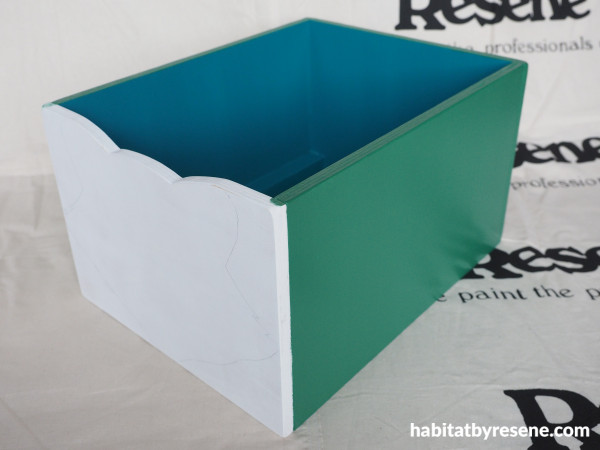
Step 3: Paint the inside of your cart with two coats of your chosen colour. Fleur used Resene Sea Green. Paint the back and two sides of the outside with another colour. Fleur used Resene Green Pea.
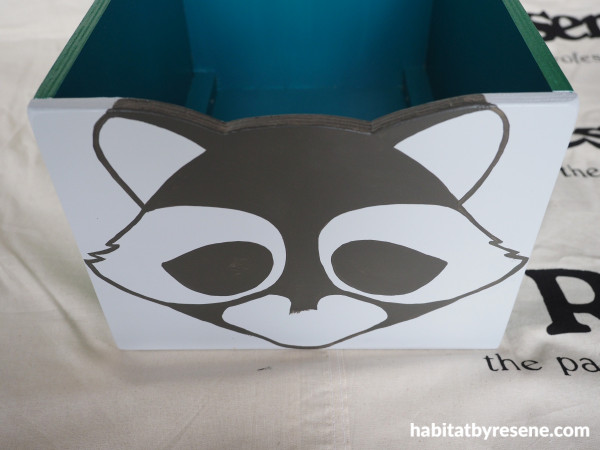
Step 4: Depending on what animal you’re painting, gather the colours you’re going to uses. Fleur painted the front face panel withResene Triple Concrete, drew on a racoon face and painted the dark areas with Resene Double Masala.
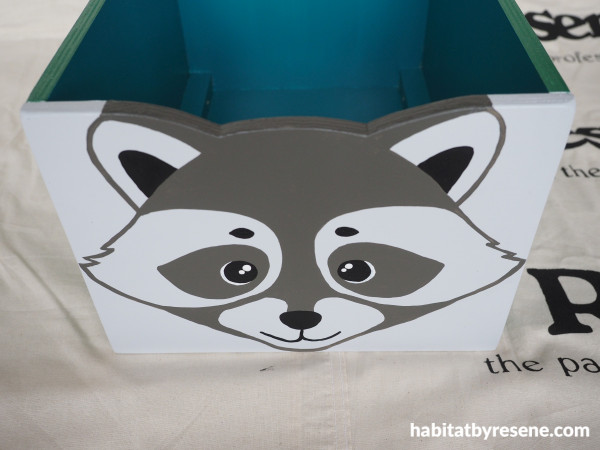
Step 5: Fleur finished the detail of the racoon face with Resene Rice Cake and Resene Black to help define the features.
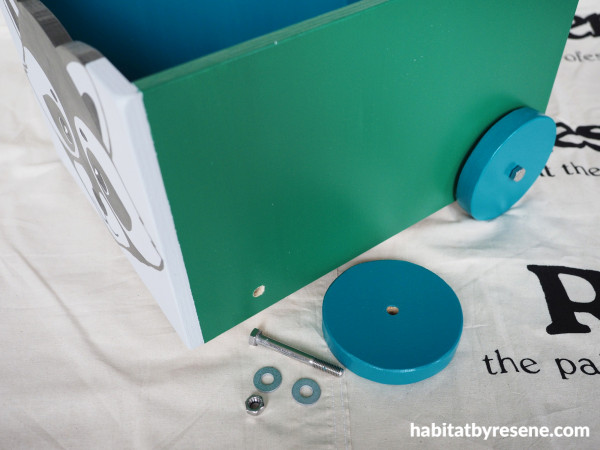
Step 6: Use scrap wood to make four wheels – you could trace around a large peanut butter or jam jar lid to make circles, then cut them out with a jig saw. Sand rough edges smooth. Drill a hole in the centre of each wheel, prime with Resene Quick Dry and apply two coats of your chosen colour. Fleur used Resene Sea Green to match the inside.

Step 7: Drill holes for the wheel bolts into the sides of the cart, making sure that you drill through the 24mm x 24mm blocking. Use bolts, washers and locking nuts to attach the wheels. Drill a hole under the nose of the face and thread through a length of cord for pulling the cart. Tie a knot at the end of the cord so that it doesn’t pull through. Enjoy!
Top tip: If you have an old wooden crate around your house, you could use that for your trolley, add the face and paint.
Choo choo choose this seat!
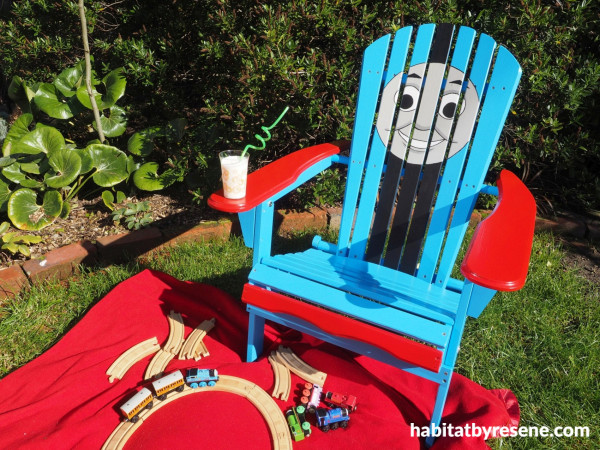
Choo-choo! Bring a touch of train magic to your garden or kid’s room with this delightful Thomas the Tank Engine-inspired chair. Perfect for little train enthusiasts, this colourful Adirondack-style chair is a charming way to personalise outdoor seating or add a playful accent to their space. With a pop of bright blues and reds, and of course Thomas’s friendly face, this DIY project is sure to be an engine of joy for your child. Ready to get on track? Let’s craft this Thomas-themed chair that’s as fun as it is functional!
You will need:
- Wooden outdoor chair
- Paintbrush
- Resene Quick Dry
- Pencil
- Frying pan lid
- Resene testpots in Thomas inspired shades. Fleur used Resene Half Curious Blue, Resene Poppy, Resene Black, Resene Rice Cake, Resene Half Friar Greystone and Resene Quarter Masala
Top tip: If your chair has been out in the weather, wash it down first to get rid of any dust, debris, cobwebs and mildew. If it is bare timber, use Resene Timber and Deck Wash then leave the chair to dry out completely before painting. If the timber is already painted use Resene Paint Prep and Housewash or Resene Bio-Cleaner.
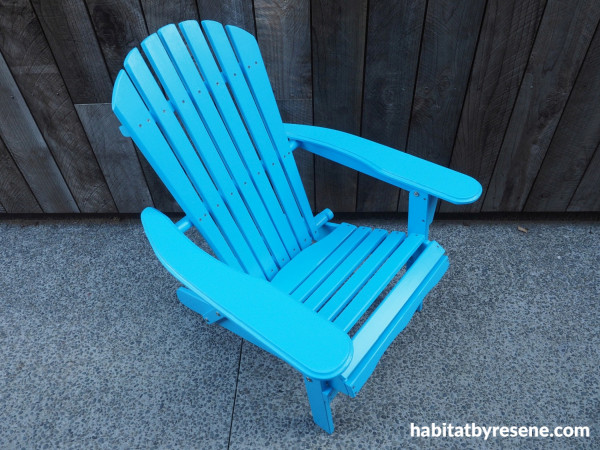
Step 1: Start by painting the chair with one coat of Resene Quick Dry, and once that is dry, follow with two coats of Resene Curious Blue in a ReseneLustacryl semi-gloss waterborne enamel finish.
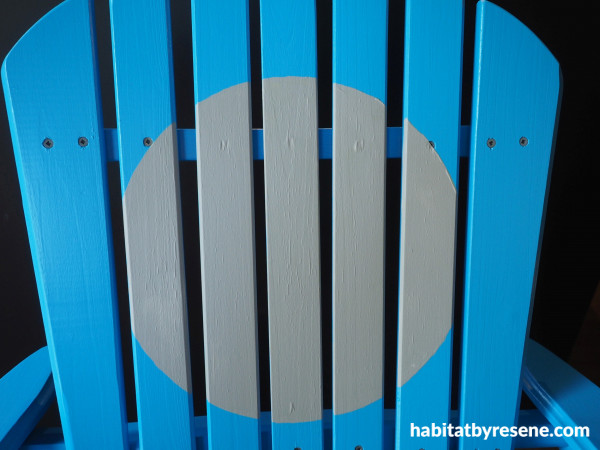
Step 2: To paint the face, trace around a frying pan lid with a pencil to get a good-sized circle, and then paint this in with two coats of Resene Half Friar Greystone.
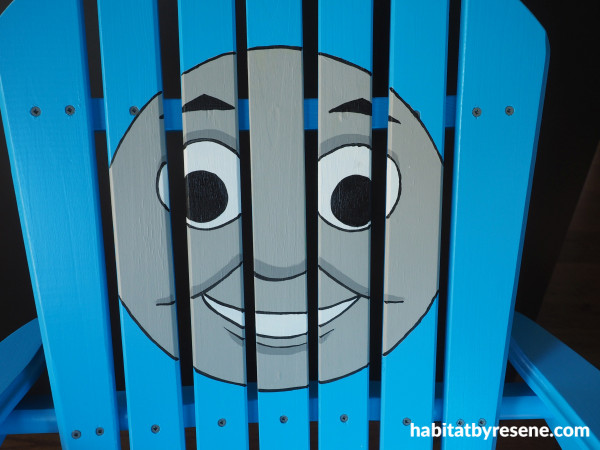
Step 3: Once the face is dry, sketch on the facial features and paint these with Resene Black, Resene Rice Cake and Resene Quarter Masala for the shadows.

Step 4: Finish by painting the armrests and front in Resene Poppy and the funnel in Resene Black.
project and images Fleur Thorpe
Published: 25 Sep 2024





 look book