 Get the newsletter
- Get your look book
Who wouldn’t want to show up to play in flash shoes like these? Customise a fresh pair of footwear or fancy up some old favourites – while covering up scuff marks – with nothing more than a few Resene testpots, artist’s brushes and a bit of good quality masking tape.
Grab the kids and some Resene testpots then let your imagination run wild!
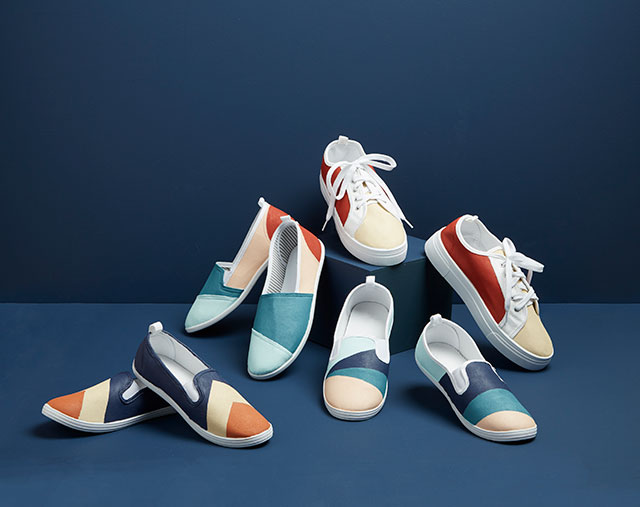
You will need:
- Canvas shoes – old or new
- High quality painter’s masking tape
- Resene testpots in your choice of colours (we used Resene King Tide, Resene Sunbaked, Resene Crowdpleaser, Resene Soulful, Resene Bismark, Resene Meditation and Resene Raging Bull)
- Small, flat artist’s brushes
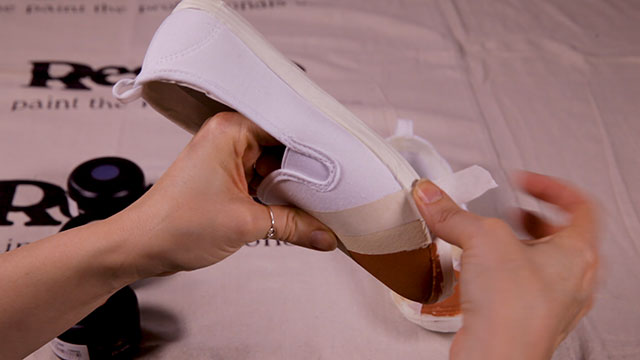
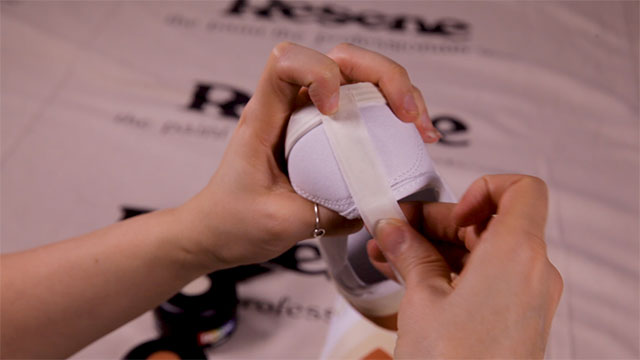
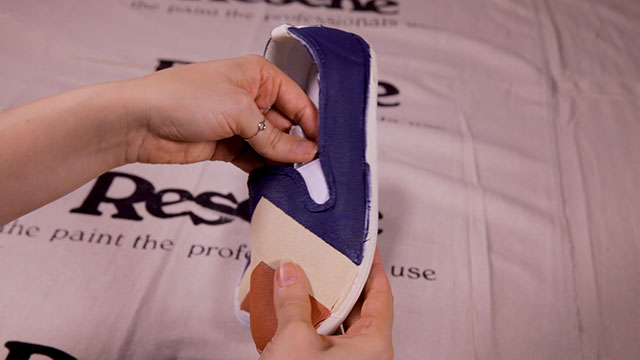
Step 1 Remove any laces, if your shoes have any, then mask off any areas of your shoes that you want to keep free of paint. We masked around the edges of our shoe soles, around the inside edges, and some of the smaller details (such as the edging, the elastic portions next to the tongue and the back tabs). If your kids are small, this is a good step to help them with.
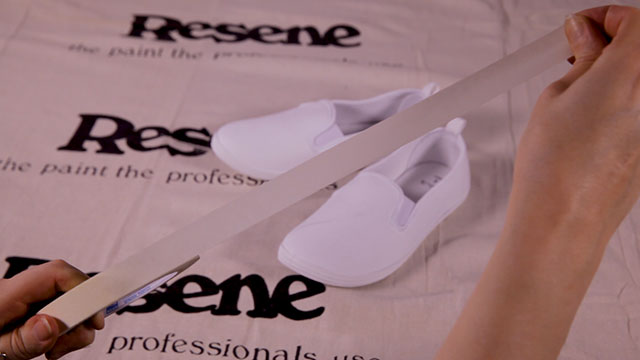
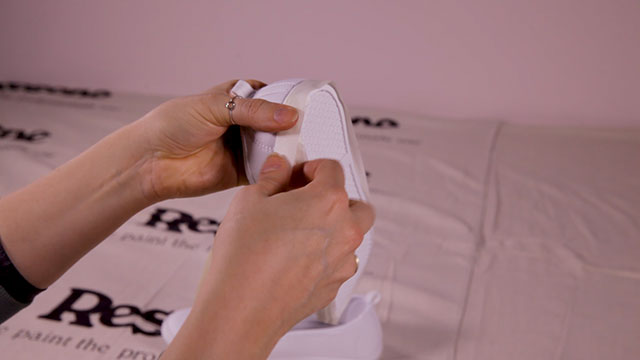
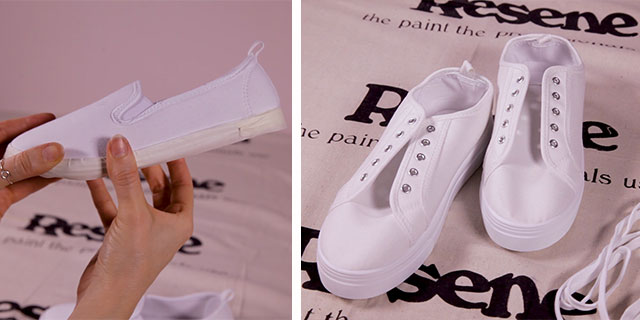
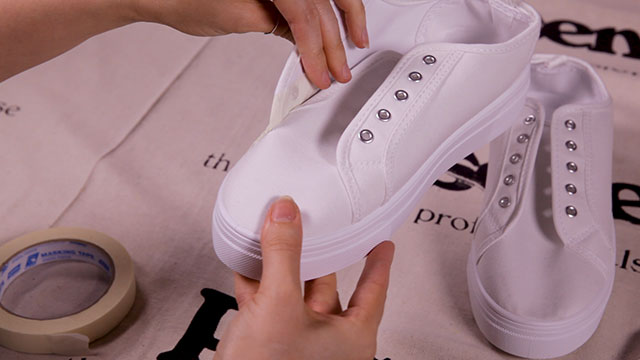
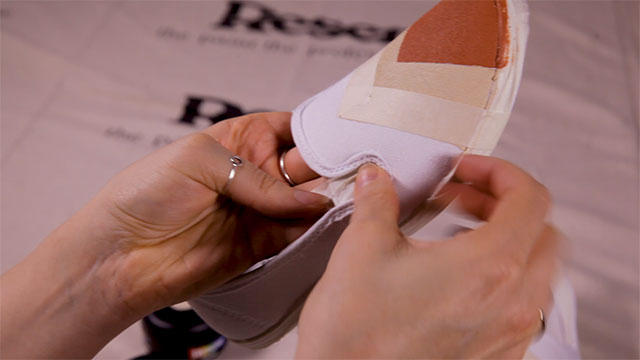
Step 2 Use painter’s tape to mask areas of the shoes to create patterns. On one pair, we made a colour blocked herringbone pattern. On another, we created a pattern that spread from the left shoe on to the right shoe. On the others, we chose to let the style of the shoes determine where the colour went. Your kids can keep things even simpler or get as crazy as they’d like. With some imagination and a steady hand, their shoes can easily become favourite animals, book or movie characters or could feature the logo of their favourite spots team.
Top tip: For an artsy splattered look, you can skip masking out a pattern all together and flick paint off artist’s brushes onto the shoes – though it’s definitely a good idea to do so outside or in the garage with a Resene dropcloth underneath.
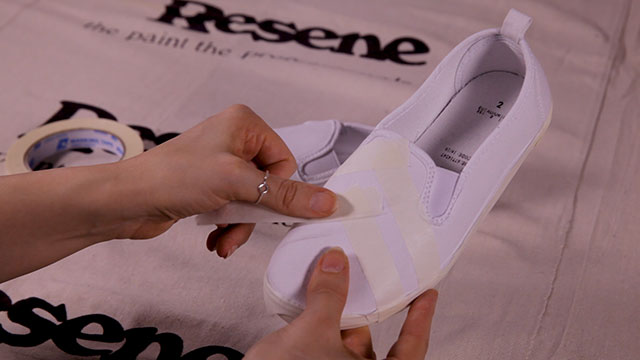
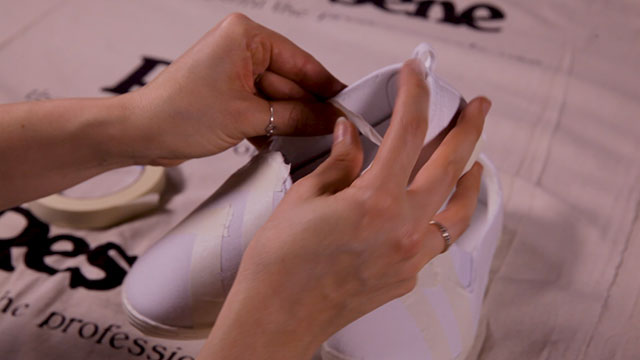
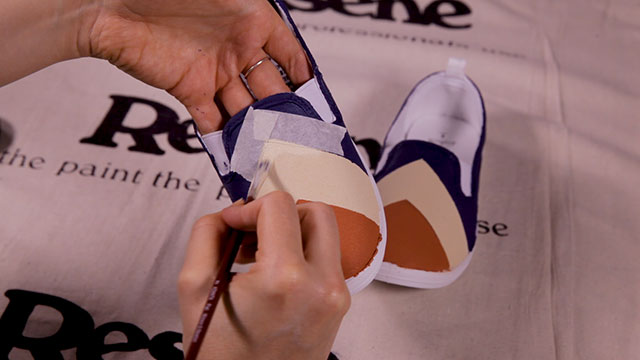
Step 3 Use a small, flat artist’s brush to apply your first paint colour to your shoes. We started by using Resene Sunbaked to paint the toes of this pair. Allow the paint to dry to the touch before removing the masking. You can use a hair dryer to speed up the drying process.
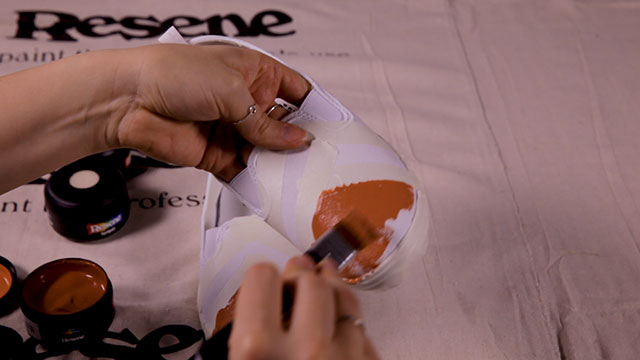
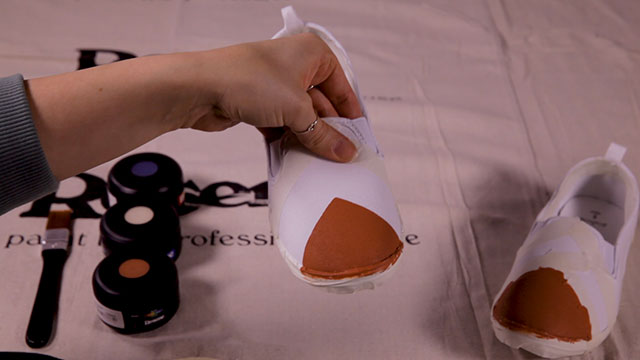
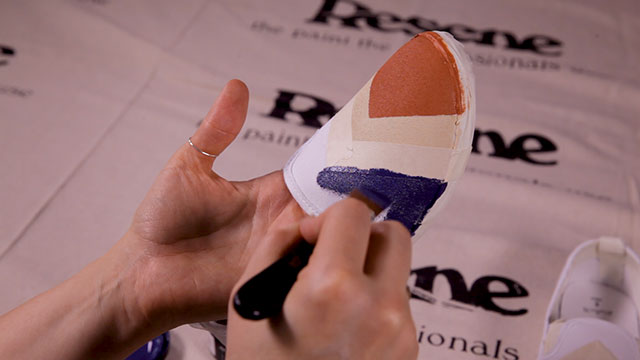
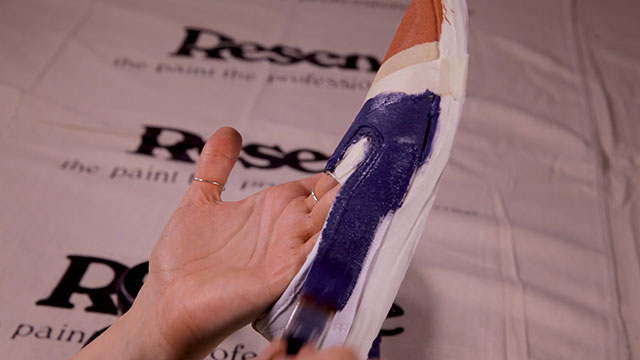
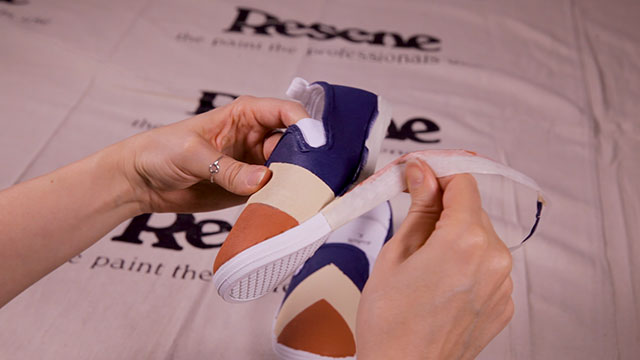
Step 4 To get your second colour block to meet up with your first colour block, use painter’s tape to mask on top of the first painted section, right along the line. Then, apply your second paint colour using a small, flat artist’s brush. For these shoes, we used Resene Crowdpleaser. Allow the paint to dry to the touch before removing the masking.
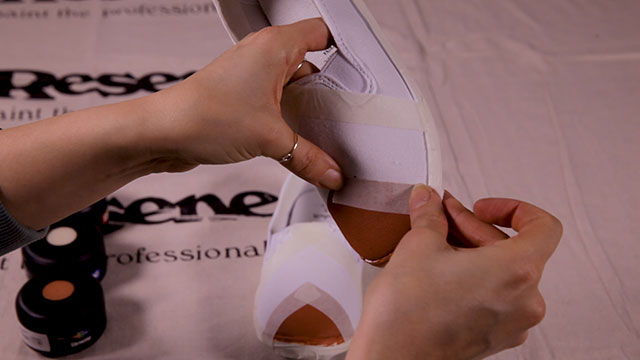
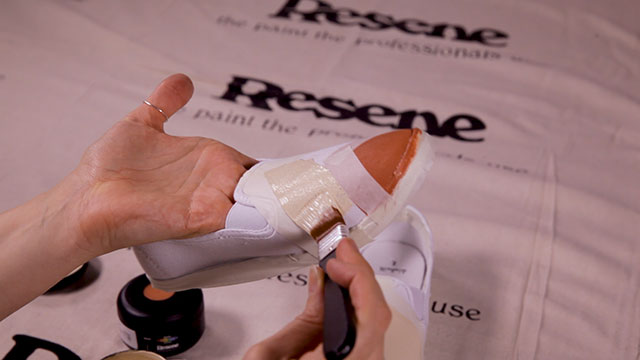
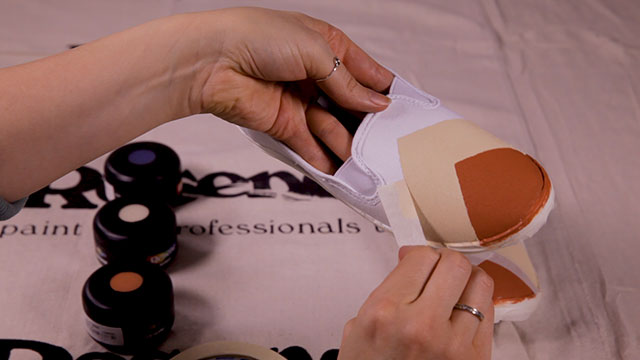
Step 5 Repeat Step 4 until you have finished your design, then remove all masking.
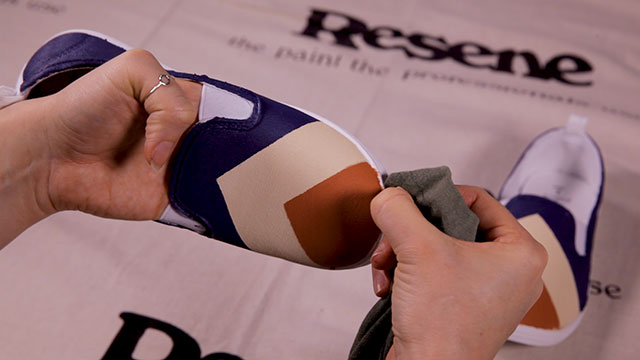
Step 6 Allow your shoes to dry and cure overnight if the weather’s nice (or for one week before exposing them to water). We painted the back section of this pair of shoes in Resene King Tide. If any of your paint bleed through your masking, you can always mask it off again to touch up your lines. If any paint bleeds on to the soles, wipe them clean with a damp cloth. If the paint has set but is still fresh, you should be able to remove small bits of newly dried paint from rubber using the edge of your fingernail.
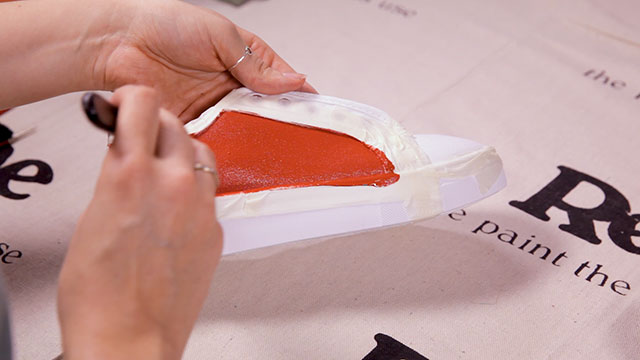
We energised the sides of our sneakers with Resene Raging Bull.
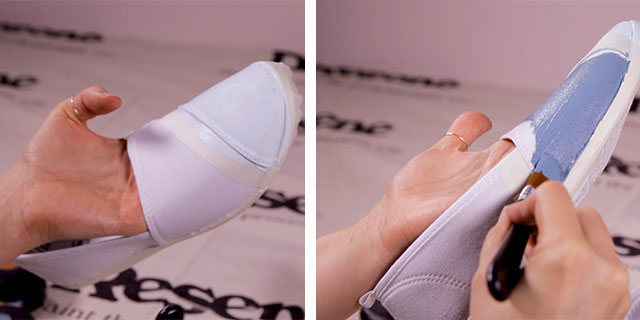
The tips of these slip-ons are painted Resene Meditation and the main body is in Resene Bismark.
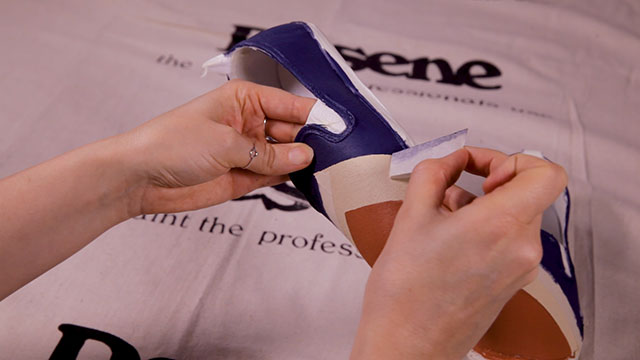

Background in Resene Bunting. Shoes in Resene King Tide, Resene Crowdpleaser, Resene Sunbaked, Resene Raging Bull, Resene Bismark, Resene Soulful and Resene Meditation.
Top tip: You can also refresh your own shoes using Resene testpots too. If you have a pair of old heels that you love the design of but the colour doesn’t go with the rest of your wardrobe, consider giving them a colourful update with Resene testpots. For colourful heel ideas, visit the Resene Colour of Fashion Gallery.
Styling Laura Lynn Johnston
Images Bryce Carleton, Ben Whorwood
Category: create with paint
Published on Jan 16, 2020
Colours
Latest Habitat TV Videos:

Published 8 months 2 weeks ago
Say goodbye to the morning scramble for keys, coats and sunglasses and hello to this…

Published 8 months 2 weeks ago
Entryways are usually the first impression visitors have of your home interior. This DIY organiser…


 look book


